UsbSerial now allows using flow control signals RTS/CTS and DTR/DTS!

Finally I’ve managed to get some time to implement hardware flow control in UsbSerial! It is probably the most trickiest part of treating with these chipsets because every single one handles this in a very particular manner.

– CP210x devices check the modem status through a usb control transfer, so I was forced to perform a polling in a new thread every X time to check for changes.
– FTDI devices has a more clever way. Every 40 ms a 2-byte package is sent to the host which contains information about the modem signals and the flag errors.
– PL2303 (not implemented yet) have a USB INT endpoint which it is the obvious candidate where modem status data will be received, no really sure yet though.
– CH340/341 also have a USB INT endpoint but polling is also possible and, because some Android inner bugs, the best way to poll the lines state.

Let’s see how it works with an example

UsbDevice device;
UsbDeviceConnection usbConnection;
...
UsbSerialDevice serial = UsbSerialDevice.createUsbSerialDevice(device, usbConnection);
serial.open();
serial.setBaudRate(115200);
serial.setDataBits(UsbSerialInterface.DATA_BITS_8);
serial.setParity(UsbSerialInterface.PARITY_NONE);
serial.setFlowControl(UsbSerialInterface.FLOW_CONTROL_RTS_CTS);

This is basically the same as the previous versions but now the setFlowControl is meaningful. Now that We have our connection configured to pay attention to the RTS and CTS lines let’s define our callback to receive or status changes.

private UsbSerialInterface.UsbCTSCallback ctsCallback = new UsbSerialInterface.UsbCTSCallback() {
        @Override
        public void onCTSChanged(boolean state) {
            //Your code goes here!
        }
    };

And pass the reference to the UsbSerialDevice object

serial.getCTS(ctsCallback);

Now We know when the status of the line change. I will be also executed in the beginning to know what is the status of the line. If you need to raise the RTS or the DST lines jut write these lines.

serial.setRTS(true); // Raised
serial.setRTS(false); // Not Raised
serial.setDTR(true); // Raised
serial.setDTR(false); // Not Raised

PL2303, CH340/341 and CDC still lack of this feature. If you find something wrong just let me know. Happy crafting! 🙂

Advertisement

DroidTerm PRO 1.2: Multi Character Encoding Support

I am happy to announce that DroidTerm PRO finally supports different character encodings which can be useful to connect with some legacy systems that still uses things like the CodePage 437 to extend ASCII. Current character encodings are:

– ASCII
– ISO 8859-1
– UTF-8 (set by default)
– UTF-16
– CP437

To change the character encoding, press the menu button in the upper right corner and select character encoding.
Screenshot_2015-09-24-18-39-35

There are tons of legacy encodings there so I probably will add some of them in next months.

More information about DroidTerm Pro and its free version
Happy crafting!

DroidTerm 7.1 and DroidTerm PRO 1.2: Usb Serial port terminal for Android

Finally new updates on DroidTerm! I managed to fix the first and foremost bug that was present on previous releases of DroidTerm, the unresponsive scroll when data was received. The text renderer is completely new and it offers and smooth scroll and keeps the app responsive.

After much thought I’ve decided to split DroidTerm into two apps, one free (with ads) that contains the same features, plus the scroll fix, than previous versions and other paid version with no ads and more features.

DroidTerm FREE
DroidTerm PRO

My intention is to keep the Free version stable as it is useful for the common user and add more complex features to the PRO version.
Try first the free sure to be sure it fits your needs, if you need the PRO features or you find DroidTerm useful and you want to help in its further development consider buying the PRO version.

If you prefer you can donate via Paypal tu support further improvements

DroidTerm PRO new features: VT100 Terminal emulator
DroidTerm PRO allows to send a subset of the ANSI control escape sequences. Designing a good interface to support this feature has been more complicated than I thought. Instead of relying purely on the Android keyboard the ‘ESC’ and the ‘[‘ button are check buttons that can be set to ON or OFF, the rest of the command must be written in a field. When the command ready, press the ‘Send’ button.

Screenshot_2015-09-10-22-51-07
ESC[2J escape sequence will erase the screen and move the cursor to home

Some systems echo back whatever you send but in some configurations need local echo. Local echo can be ON/OFF easily by the checkboxes below the the ANSI escape sequences.

DroidTerm Pro new Feature: Different character encodings

DroidTerm features explained in previous posts

USB Viewer
Logs and Hex viewer
Log viewer and Bulk transfer
Connection profiles
Profiles automatically create a default log file. LF CR and LF-CR End of line options added
CH340/CH341 supported, those cheap Arduino clones should be working now 🙂

Both versions use UsbSerial to handle serial port which is free, open source and can boost your projects too!

DroidTerm started as a little serial port terminal, it was buggy as hell in the first release with a very slow scroll and a lack of features but now it is unrecognizable! I started this because other options for serial ports were disappointing and I can state that right now is probably the best out there for Android, probably still not the PuTTy replacement for Android but who knows.. 🙂

Happy crafting!

A dirty and quick example of serial port communication in Android

Since I released UsbSerial I have received good feedback about its performance but I also have received messages with some legit doubts about how to use it. I finally overcame laziness and I have publish a little example of how to use UsbSerial correctly in a real app. Here it is the source code, just two java source code files 🙂

Disclaimer: If you are looking for a serial terminal for Android, DroidTerm is what you need, this is just a quick example

An overall description of how it works:
– UsbService.java contains a Service to isolate all Usb operations. Interesting things happens there. If you need to change baud rate, stop bits and son those lines are located there. It is a good pattern to implement open connections in a Service so I encourage you to do it this way.

– When App starts, UsbService is created and will try to connect with an attached usb device. if there is one device compatible it will connect with it and data will be able to be sent and received. If no devices are attached, it will inform the user through a toast. The app will be still listening for new usb attached devices.

– Data received will appear in the white box, Send button will send the data wrote into the EditText.

Screenshot_2015-01-09-17-52-48

Although pretty simple and it does not have any particular goal (besides being an explanatory app), it could have some bugs so If you find something just let me know opening an issue on github.

Happy coding!

UsbSerial: A serial port driver library for Android v4.5

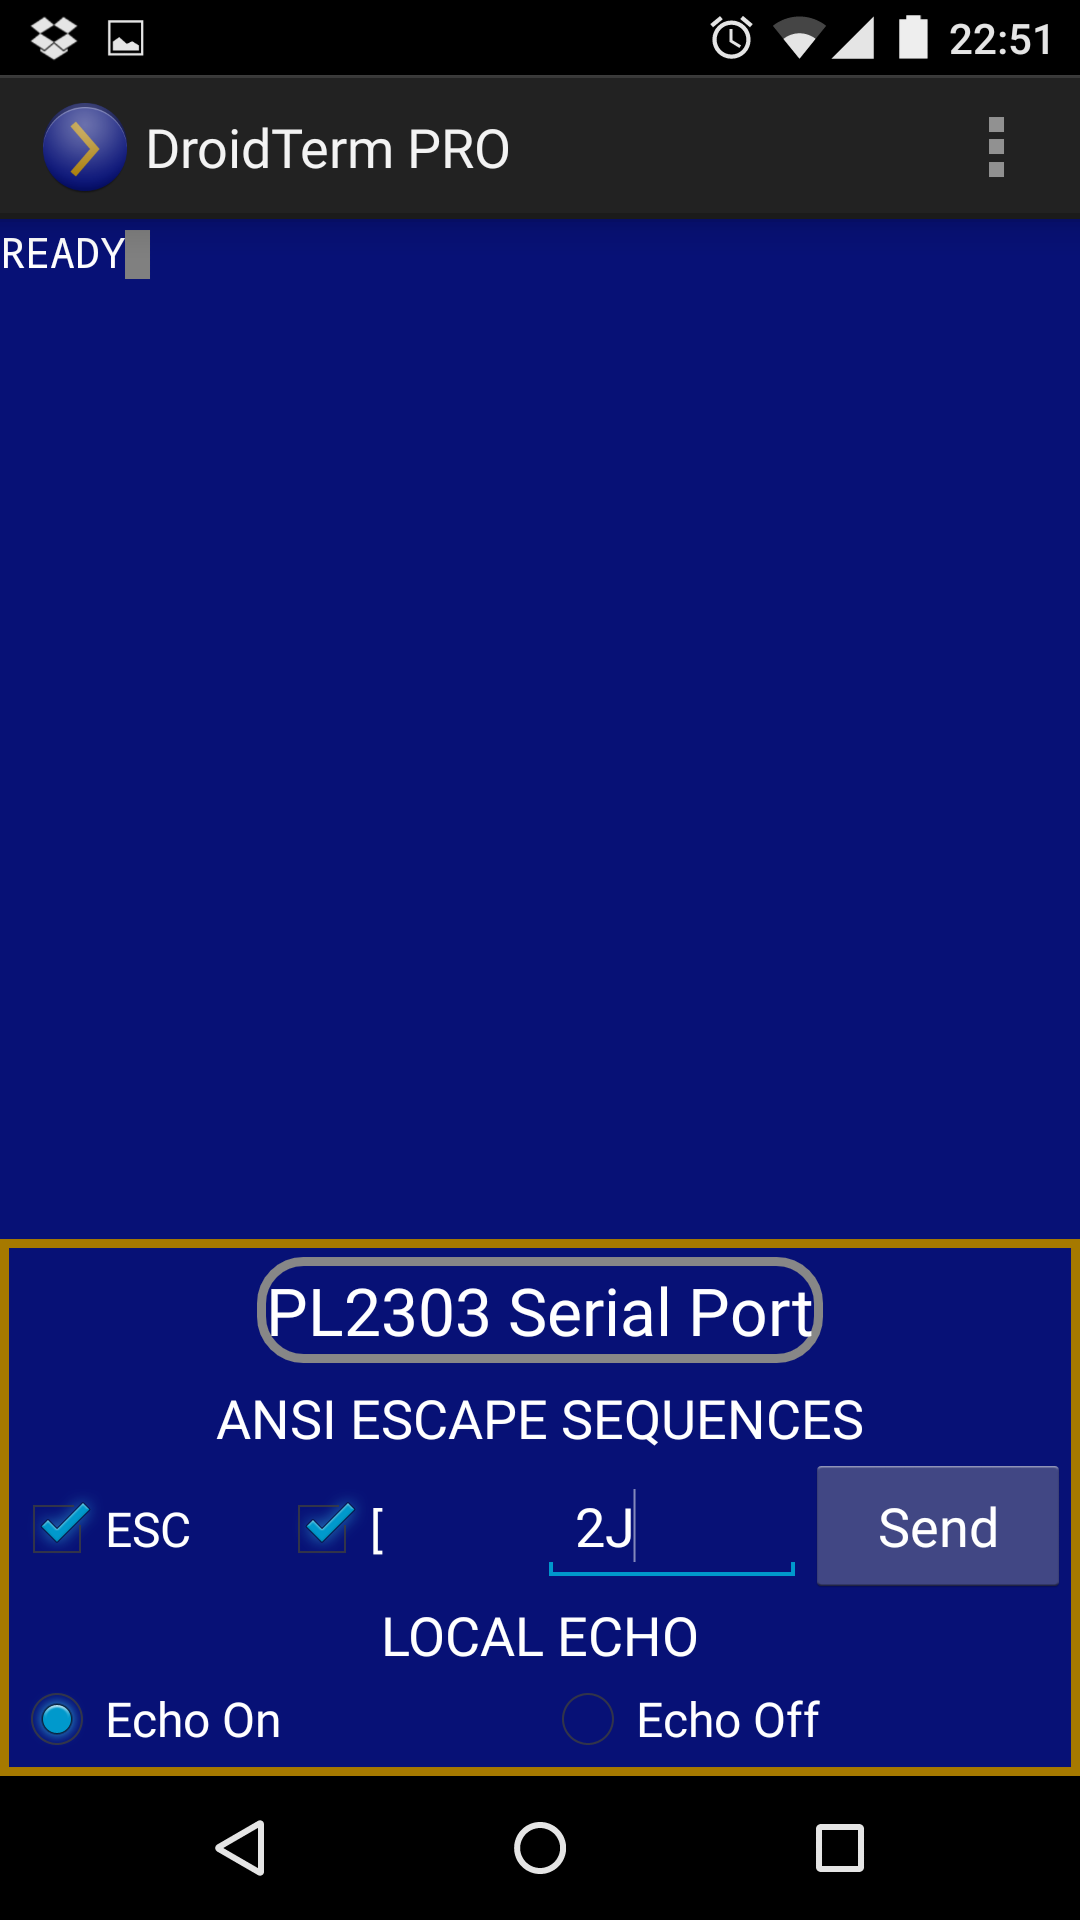
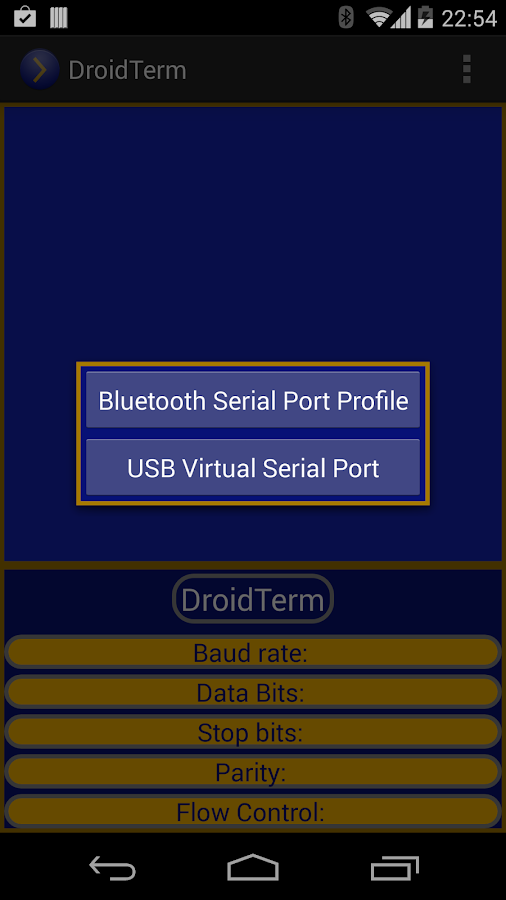
Although I talked some months ago about this library and I even use it for DroidTerm, DroidTerm PRO and other professional projects, the post I wrote no reflects the truly current state of this work. It is fairly stable and has been used So here it is, a more formal and helpful description of UsbSerial for Android.

A brief list of Apps and wrappers using UsbSerial. Contact with me if you have a nice project to show 🙂

UsbSerial repository

If UsbSerial fits your needs and have help you with your project, please consider donating via PayPal to boost further improvements

If you are relatively new using Android, or just Usb Android api just checkout this simple app using UsbSerial with full source code available on Github

Or you can check out this amazing post about using the USB android API by the guys of BLECentral. The previous steps to use UsbSerial are very well explained there.

Another awesome tutorial by Hariharan Mathavan from All About Circuits

How to add UsbSerial to your project
Thanks to StephaneBg UsbSerial can be easily added to your Android Studio project via Jitpack. First add the jitpack repo into your project build.gradle.

allprojects {
    repositories {
        jcenter()
        maven { url "https://jitpack.io" }
    }
}

And then add the dependency to your module’s build.gradle

compile 'com.github.felHR85:UsbSerial:4.5'

Devices supported
Currently UsbSerial supports three of the most used USB to serial chipsets:
FTDI FT232 (I am not going to brick your device, trust me 🙂)
Silicon Labs CP210x
Prolific PL2303HX (at least HX version)
CH340/CH341
A new feature added here is a CDC generic driver, so it should be possible to connect devices which fits into Communications Device Class. I am open to suggestions about new supported chipsets.

UsbSerial internals: A brief description
– Internally UsbSerial works as a Producer-Consumer handler,  what you write is put into a buffer and it will be consumed by a Consumer thread when previous data is sent.

– Write operations can be queued from multiple threads without problems

– Received data is received through a callback, there is no need to be polling.

– Two 16kb internal buffers for Write and Read operations.

– Android 4.2.1  or greater devices rely on Asynchronous USB api for read operations. Prior versions (Android 3.1 oldest version supported) use synchronous api due to some Android bugs. Write operations use always synchronous USB api. UsbSerial handles all of this so there is no need to worry.

– PL2303, FT232 and CP210x drivers use a list of known vid and pids to identify a correct device.

– CDC driver can be loaded automatically for a device if it has a CDC interface.

How to use it
First of all you need both UsbDevice and UsbDeviceConnection objects correctly initialized.

// This snippet will open the first usb device connected, excluding usb root hubs
UsbManager usbManager = (UsbManager) getSystemService(Context.USB_SERVICE);
UsbDevice device;
UsbDeviceConnection connection;
HashMap<String, UsbDevice> usbDevices = usbManager.getDeviceList();
if(!usbDevices.isEmpty())
{
    boolean keep = true;
    for(Map.Entry<String, UsbDevice> entry : usbDevices.entrySet())
    {
        device = entry.getValue()
        int deviceVID = device.getVendorId()
        int devicePID = device.getProductId()
        if(deviceVID != 0x1d6b || (devicePID != 0x0001 || devicePID != 0x0002 || devicePID != 0x0003))
       {
          // We are supposing here there is only one device connected and it is our serial device
          connection = usbManager.openDevice(device);
          keep = false;
       }else
       {
          connection = null;
          device = null;
       }

       if(!keep)
           break;
    }
}

With those objects correctly initialized it is easy to start


// A callback for received data must be defined
private UsbSerialInterface.UsbReadCallback mCallback = new UsbSerialInterface.UsbReadCallback()
{
    @Override
    public void onReceivedData(byte[] arg0)
    {
        // Code here
    }
};

//...
//...
UsbSerialDevice serialPort = UsbSerialDevice.createUsbSerialDevice(device, mConnection);
if(serialPort != null)
{
    if(serialPort.open())
    {
        // Devices are opened with default values, Usually 9600,8,1,None,OFF
        // CDC driver default values 115200,8,1,None,OFF
        serialPort.setBaudRate(115200);
        serialPort.setDataBits(UsbSerialInterface.DATA_BITS_8);
        serialPort.setStopBits(UsbSerialInterface.STOP_BITS_1);
        serialPort.setParity(UsbSerialInterface.PARITY_NONE);
        serialPort.setFlowControl(UsbSerialInterface.FLOW_CONTROL_OFF);
        serialPort.read(mCallback);
    }else
    {
        // Serial port could not be opened, maybe an I/O error or it CDC driver was chosen it does not really fit
    }
}else
{
    // No driver for given device, even generic CDC driver could not be loaded
}

And write what you want to send through serial port!

serialPort.write("Hola!".getBytes());

If you need to use flow control signals just check out this post

UsbSerial now allows USB to SPI bridges

Download the jar file here Actually it is better to add UsbSerial using gradle as described above!!

Happy coding and reach me if you do something nice with UsbSerial! 🙂

Update (03/07/15):
Thanks to Martin Blom now it is possible to use UsbSerial with multi-interface devices (like this). The best way would be

int iface = 0;
UsbSerialDevice serialPort = UsbSerialDevice.createUsbSerialDevice(device, mConnection, iface);

DroidTerm: A serial port terminal emulator for Android

Last information about the current state of DroidTerm. Please check it out

During my most recent work I had to deal a lot with serial ports and Usb to serial converters. Most of the work used an Android device as a host of a usb-serial converter to send commands through a serial connection to a custom hardware we developed. I certainly missed a good replacement of PuTTY for Android. Some apps I encountered are faulty or does not support the converters I am using for. That is the reason because I started to develop my own replacement.
Finally I shipped the first version of this app that I called DroidTerm.
Here it is the link if you are interested

Features:
– Allows serial connections over Bluetooth Serial Port Profile and Usb.
– It supports FTDI chipsets (nice for Arduino stuff), CP210x family of chipsets and soon Prolific pl2303 chipsets. Not only defaults VID and PID, it supports custom VID and PIDS of other manufacturers too.
– In Usb serial connection, baud rate, data bits, stop bits, parity can be configurable before connection. Flow control is still not supported.

There is plenty of room for new features and improvements:
– Flow control and almost more importantly, a interface to handle it manually.
– Send through serial port a selected filed from a file explorer.
– Macros (Implement a simple BASIC-like language and a simple interface to code on mobile devices would be awesome).
– Add more not supported devices, although that must be done on Usb Serial android library
– Design improvement, that is not my best area so do not expect something much better than the retro style it has now.

If you use it, you find it useful and you have some new ideas or improvements I would love to hear them.

Happy craft!

UPDATE: Devices with PL2303 chipsets are now supported. I would like some feedback about this new feature 🙂
https://lh3.ggpht.com/Ms-VlbxWea5n3yUDqsx1ZZcjswxA-cpR4xC35XcYOszlszUUfXvDq8tkozQ9vKihXvOt=h900-rw

https://lh5.ggpht.com/RSMTKtvYHBNPkMuwiGlRju8iCjq8JW8VQvOVphDYf0gsa-nu7Vk8RNCbXaMqhDGkfA-J=h900-rw